VR Development 3
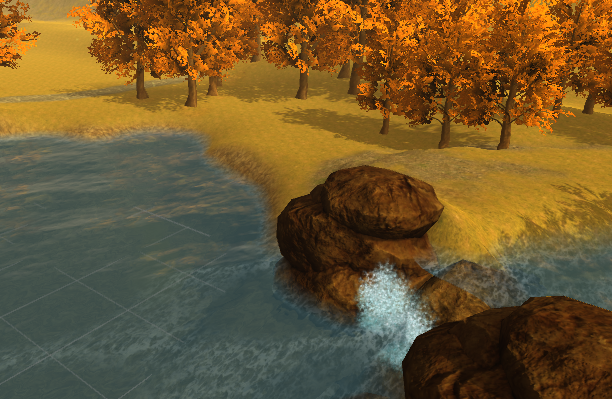
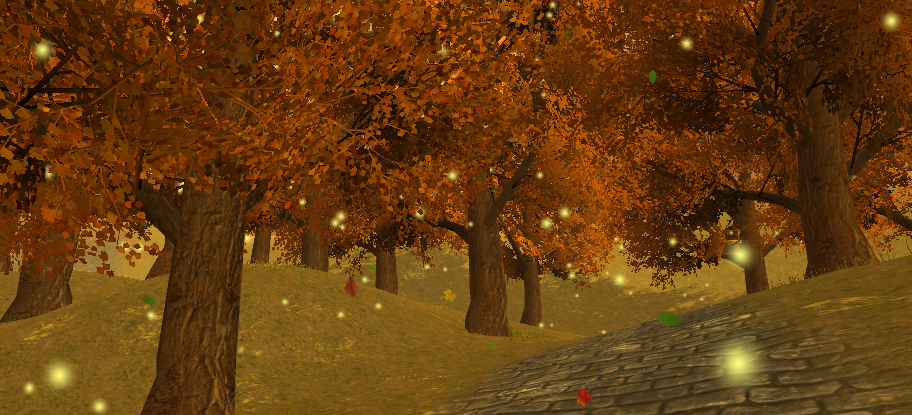
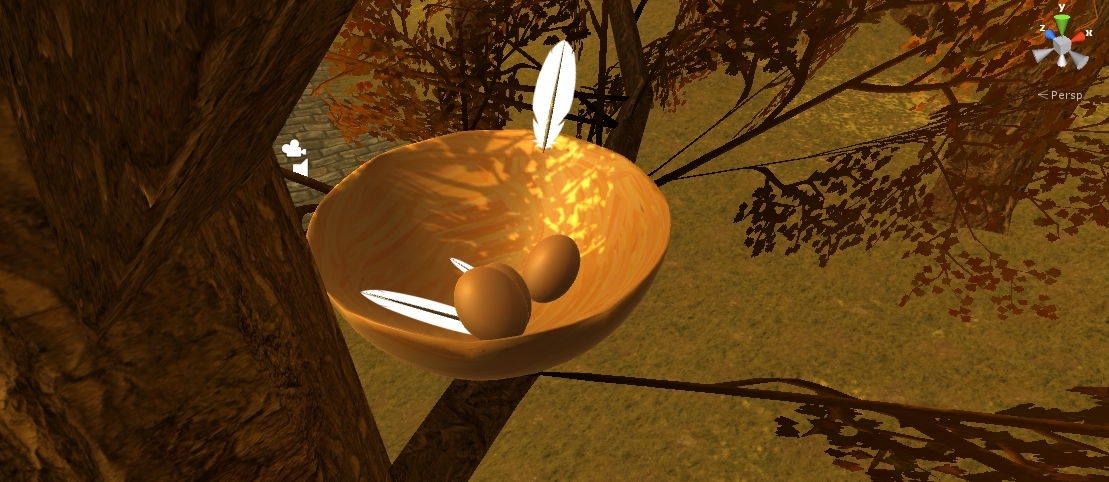
This session, I continued adding more features to the environment such as rocks, waterfalls and particle effects to make it more authentic and visually appealing.
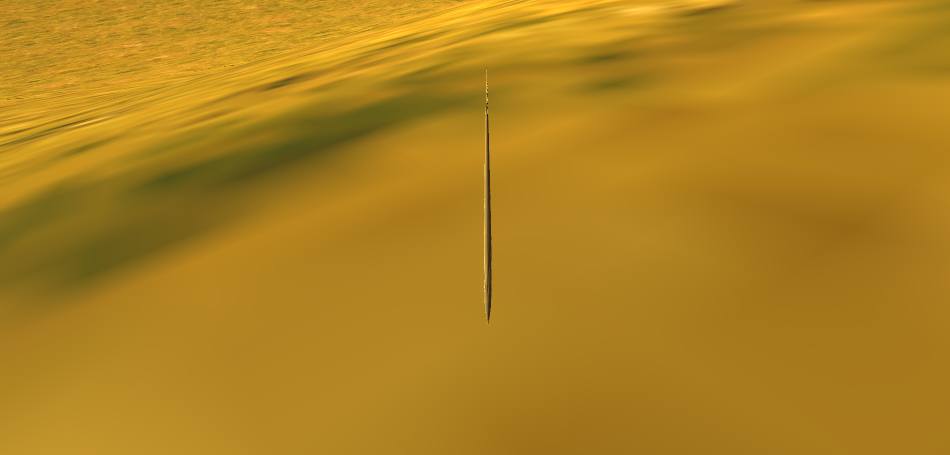
On top of that, I also started to use another software called “Blender” that allows me to create 3D models using simple shapes as assets such as a birds nest and the stem of the feather. By creating and manipulating a basic cone shape, I managed to stretch it to form the stem that resembles to that of a feather.
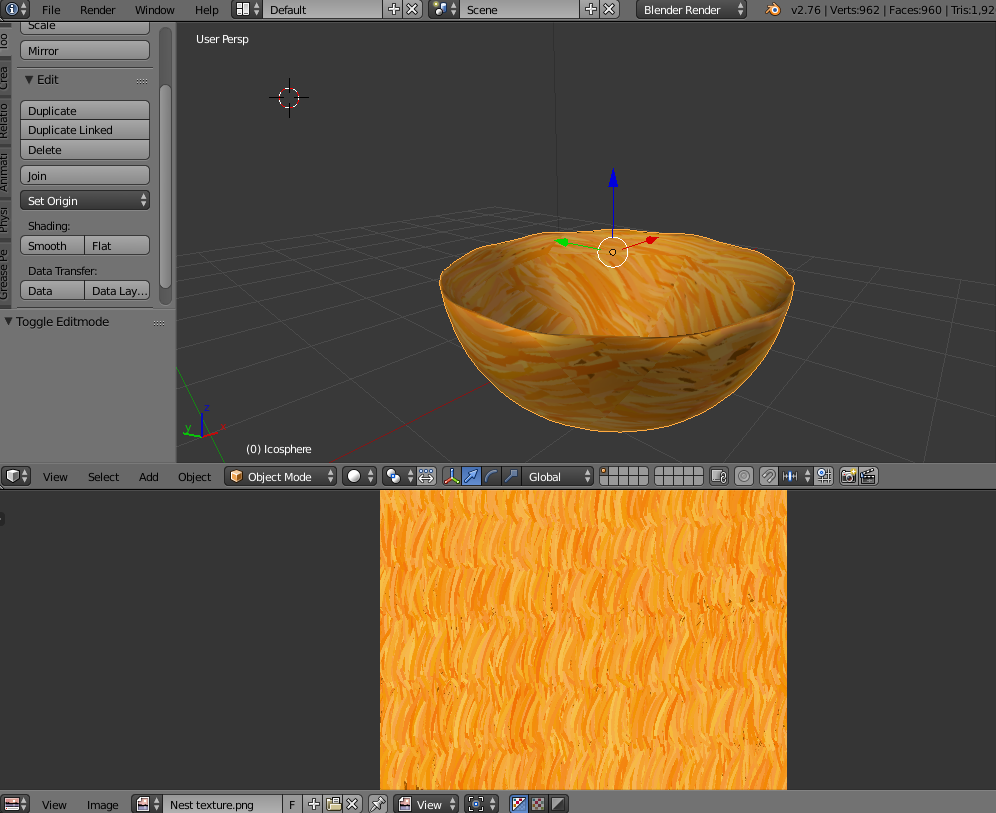
The nest was also made through Blender by using a simple sphere as the basic outline for the nest. I then manipulated the top vertices and made a concave sphere until it looks similar to a nest. So then by applying the “sub division surface” effect to the 3D model allows the surface to smooth and become more realistic.
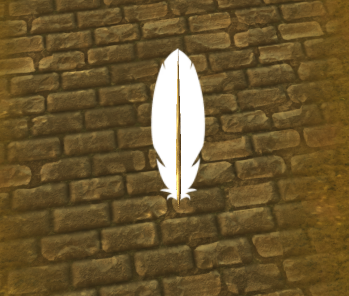
To complete the feather, I used an existing feather as a reference and drew one side of the feather on Adobe illustrator.

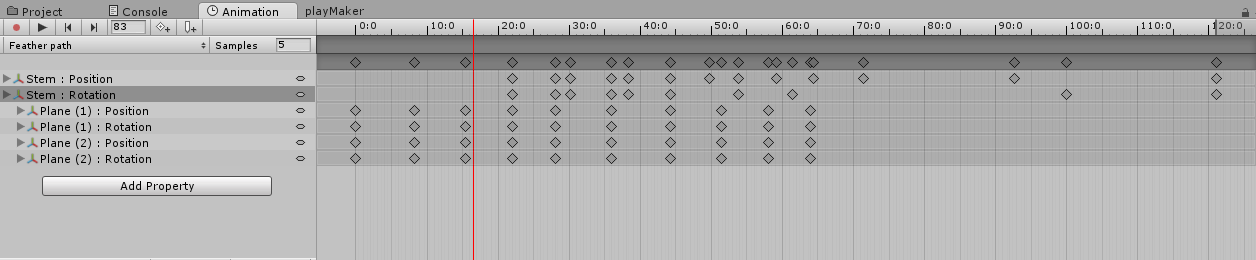
I then attached the sides to the stem in unity so that I can animate them individually to achieve the effect that it is fluttering in the wind.
As for the animations, I mapped out where the key points of interest are on the terrain such as the start, middle and end.
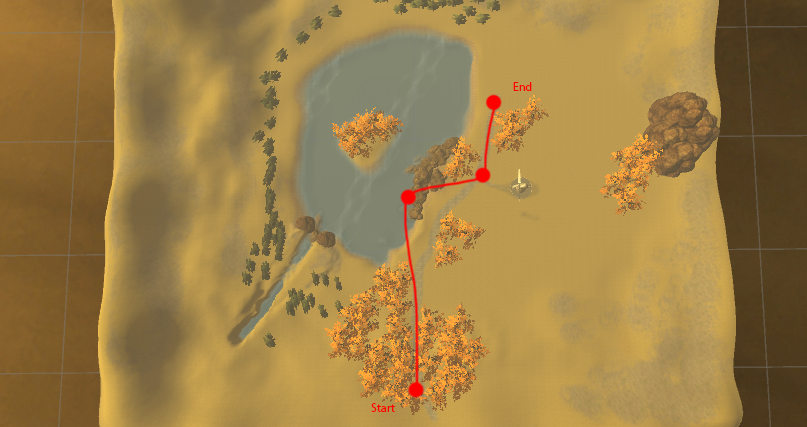
So then after mapping out the key points of interest, I added the animations that the feather will execute during its flight through the terrain.